Series of lessons on Linux, Apache, Databases, Git, NoSQL, PHP and scalability of the application.
Part 1: Linux, Web server and Database
Configuring Linux
Now we’ll see how to set up the development environment. First download Linux (e.g. Linux Mint www.linuxmint.com/download.php) and install it on a pen drive following this tutorial www.ubuntu.com/download/desktop/create-a-usb-stick-on-windows.
You may wish to install it as the second OS on your PC, see the manual www.everydaylinuxuser.com/2014/07/how-to-install-linux-mint-alongside.html.
When Linux is up and running,
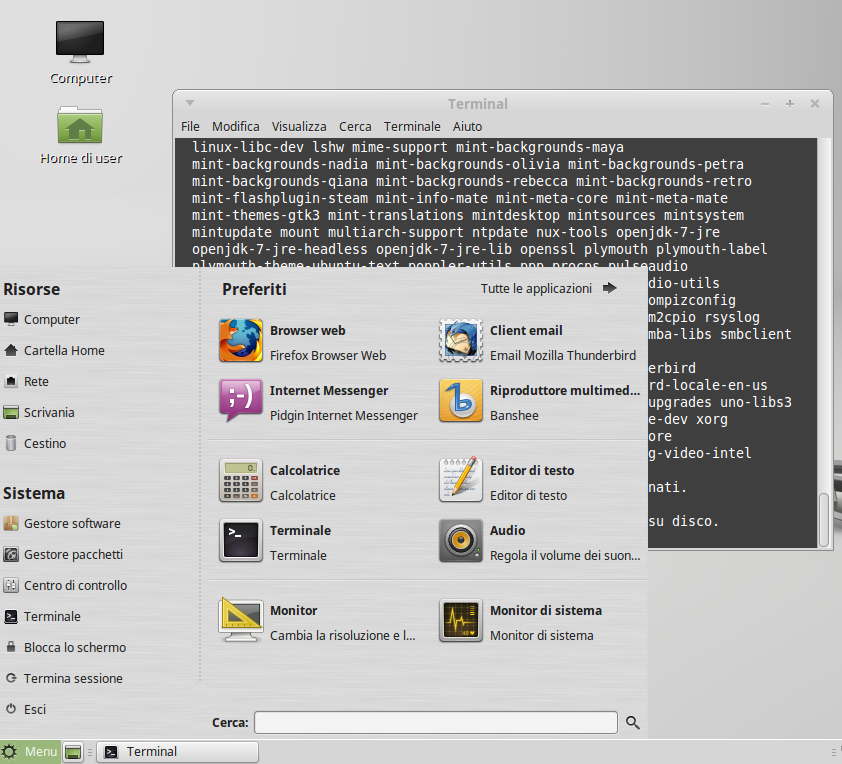
the first thing to do is to upgrade it to the final release
$ sudo apt-get update; sudo apt-get dselect-upgrade
and reboot.
Starting with the shell
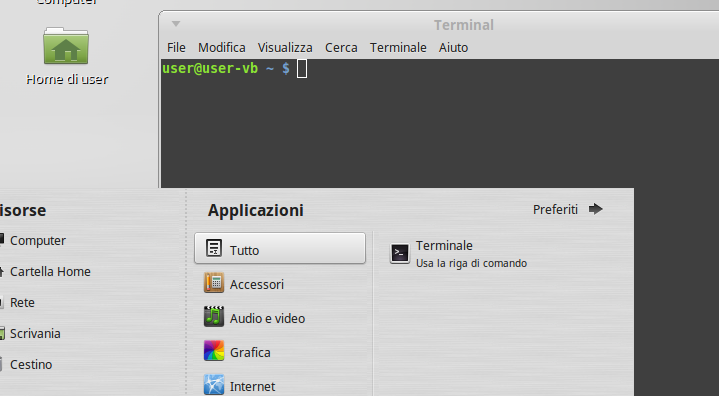
What is “the shell” and why bother? The shell is a program that takes your commands from the keyboard and gives them to the operating system to perform. Nowadays, we have graphical user interfaces (GUIs) in addition to command line interfaces (CLIs) such as the shell. To open one simply click “Menu” and type “terminal”
So why bother? 95% of servers are running Linux, most of them are headless – without GUI!

So as we’ve seen before, a simple command like this one
$ sudo apt-get update; sudo apt-get dselect-upgrade
upgrades the entire operating system, or installs the web server
$ sudo apt-get install apache2
Package managing apt-get
APT, the Advanced Packaging Tool, provides a rapid, practical, and efficient way to install packages that would manage dependencies automatically and take care of their configuration files while upgrading.
Commands
Installation commands
$ sudo apt-get install <package name>
Maintenance commands
Update sources
apt-get update
Upgrade all installed packages
apt-get upgrade
Upgrade all installed packages and tell APT to use the “smart” conflict resolution system, so it will attempt to upgrade the most important packages such as the kernel etc.
apt-get dselect-upgrade
Remove a package
apt-get remove <package_name>
Search for an available package
apt-cache search <search_term>
Search for an installed package
dpkg -l *<search_term>*
GIT
GIT is a distributed revision control system with an emphasis on speed, data integrity, and support for distributed, non-linear workflows.
Git was initially designed and developed by Linus Torvalds for Linux kernel development in 2005, and has since become the most widely adopted version control system for software development.
$ sudo apt-get install git-core
Github
GitHub is a web-based Git repository hosting service, which offers all of the distributed revision control and source code management (SCM) functionality of Git as well as adding its own features.
GitHub for Mac And Windows
GitHub offers very handy utilities for Mac and Windows that enable managing repositories via a graphical interface.
- GitHub for Mac: https://mac.github.com/
- GitHub for Windows: https://windows.github.com/

Editors and IDE
For Web development there is a big choice of editors and IDE-s available. Let’s consider some of them
Sublime Text
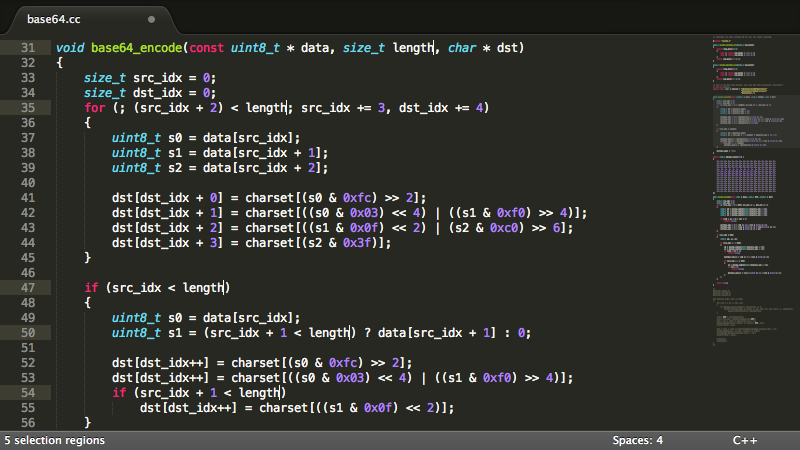
Sublime Text is a sophisticated text editor for code, markup and prose. You’ll love the slick user interface, extraordinary features and amazing performance.
NetBeans IDE
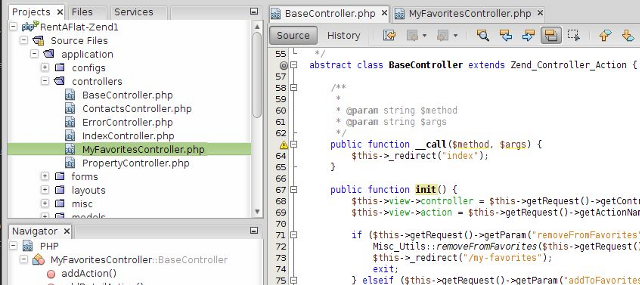
NetBeans provides full IDE functionality and is a typical choice for PHP web development.
Exercises
Exercise 1
Please install Apache web server and create “Hello world” page.
Exercise 2
Install GIT. Register an account on GitHub and install the Git GUI.
Exercise 4
Please install MySQL server, MySQL PHPMyAdmin and MySQL Workbench. Create a test database.
Exercise 5
Clone repository https://github.com/ccoenraets/wine-cellar-php and configure Apache and MySQL to run the application.
Hints
- Create new Droplet Ubuntu 14.04 x64 on DigitalOcean
- install apache2 and mysql: digitalocean.com/community/tutorials/how-to-install-linux-apache-mysql-php-lamp-stack-on-ubuntu-14-04
- enable
rewritemodule with
$ sudo a2enmod rewrite
- permit path rewrite
$ sudo nano /etc/apache2/sites-enabled/000-default.conf

<VirtualHost *:80>

...

    <Directory /var/www/html>
            Options FollowSymLinks
            AllowOverride All
            Order allow,deny
            Allow from all
    </Directory>

...

</VirtualHost>
- clone repository into cellar folder
/var/www/html$ sudo git clone https://github.com/ccoenraets/wine-cellar-php.git cellar
Exercise 6 (advanced, requires knowledge of basics of NodeJS and NPM)
Install Ghost Blogging platform https://github.com/TryGhost/Ghost and create one post
Hints
- Installation for all platforms https://support.ghost.org/installation/
- Or alternatively, configure with DigitalOcean (create new Droplet Ubuntu 12.04.5 x64) digitalocean.com/community/tutorials/how-to-host-ghost-with-nginx-on-digitalocean
Part 2: RESTful Web Services
Web Server
First install the Apache web server (we assume Ubuntu 14.04 is installed on the server)
$ sudo apt-get install apache2
Then let’s assume the name of the website is example.com, so we configure Apache to serve content for this website from the folder
/var/www/html/example.com
$ sudo nano /etc/apache2/sites-available/example.com.conf
And put the VirtualHost description
<VirtualHost *:80>
    ServerName  www.example.com
    ServerAlias example.com

    DirectoryIndex index.html index.php index.htm
    DocumentRoot /var/www/html/example.com/public

    <Directory "/var/www/html/example.com/public">
        Options MultiViews FollowSymLinks
        AllowOverride all
        Order allow,deny
        Allow from all
    </Directory>

    # Logfiles
    ErrorLog  /var/log/apache2/example.com/error.log
    CustomLog /var/log/apache2/example.com/access.log combined
</VirtualHost>
Create the corresponding folders
$ sudo mkdir -p /var/www/html/example.com/public /var/log/apache2/example.com/
and enable the website
$ sudo a2ensite
Your choices are: 000-default default-ssl example.com
Which site(s) do you want to enable (wildcards ok)?
example.com
Enabling site example.com.
To activate the new configuration, you need to run:
  service apache2 reload
then reload conf
$ sudo service apache2 reload
PHP Composer
Here we’ll see how to create a simple PHP web service with the help of Composer. Composer is a tool for dependency management in PHP. It allows you to declare the dependent libraries your project needs and it will install them in your project for you.
$ cd /var/www/html && rm -rf example.com
now clone the source code
/var/www/html$ sudo git clone https://github.com/moiseevigor/learning-nosql-php example.com
Switch to the folder of the project
$ cd example.com
And switch to “Hello world” branch
$ git checkout -b hello-world origin/hello-world
Install composer
$ sudo curl -sS https://getcomposer.org/installer | sudo php
and configure dependencies
$ sudo ./composer.phar install
The latter will create the folder vendor in the current folder, which will contain all PHP libraries that our project will depend on.
PHP Server
To run the application simply switch to public
$ cd public
and start the built-in web server on localhost.
$ php -S localhost:8080
Note, the built-in web server is available only for versions of PHP >= 5.4.
Now open the browser on http://localhost:8080/hello/world or try it via telnet
$ telnet localhost 8080
Trying 127.0.0.1...
Connected to localhost.
Escape character is '^]'.
GET /hello/world HTTP/1.1
host: localhost

HTTP/1.1 200 OK
Host: localhost
Connection: close
X-Powered-By: PHP/5.5.9-1ubuntu4.6
Content-Type: text/html

Hello, world
Project Learning NoSQL and PHP
Project Learning NoSQL and PHP, https://github.com/moiseevigor/learning-nosql-php, contains a number of branches.
After the previous step we find ourselves on the hello-world branch.
/var/www/html/example.com (models)$ git branch
  master
* hello-world
  controllers
  models
You need to explore the project in the following order
hello-world: basic routing and functionalitycontrollers: introduction of Controller and advanced routingmodels: introduction of Models and Doctrine ORM
To switch between branches you need to execute
$ git checkout -b hello-world origin/hello-world
$ git checkout -b controllers origin/controllers
$ git checkout -b models origin/models
After every switch you need to update libraries with
$ ./composer.phar update